POWERAPPS PORTAL ADMIN CENTER
In this post, we will see how to access PowerApps Portal Admin Center and what actions can be done.
Follow the below steps in order to open the PowerApps Portal Admin Center

- Sign in to Power Apps and select the environment where you created the portal
- Select Apps from the left pane and select the portal from the list of displayed Apps
- In the command bar, click on Settings, then click Administration from the Settings pane
- The Power Apps portals admin center will be opened

Once the PowerApps Portal Admin Center is open, you will be able to achieve multiple actions as following
-
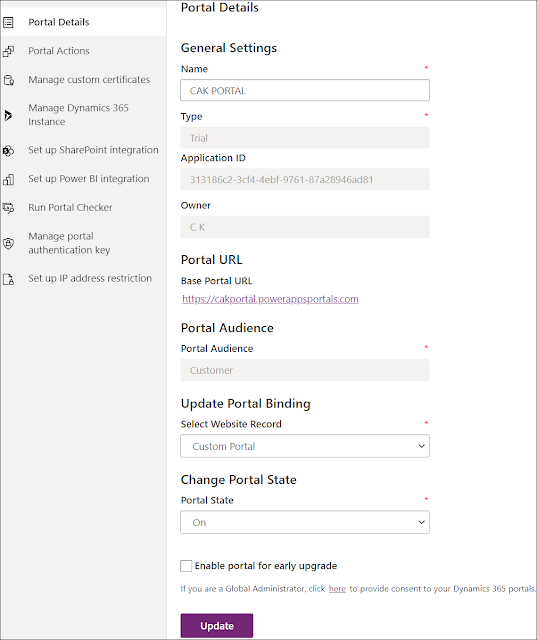
Portal Details where you can
- Check additional details about the portal like Portal Type, Application ID, Portal URL, Portal Audience...
- Switch the portal state On/Off allows you to turn off the portal and then turn it back on. Effectively it is like doing an IIS STOP and then IIS START.
- Enable the portal for early upgrades where you can enable development or test portal to receive an early upgrade ahead of all customers, so you can test all scenarios on your test portal before upgrades are rolled out to your live portal to avoid any unexpected behavior.
-
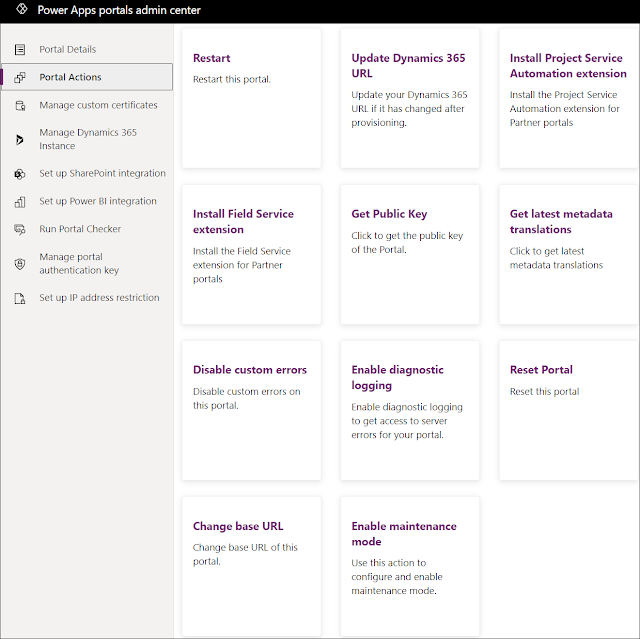
Portal Actions where you can
-
Restart:
Restarting the portal is like when you do IISRESET command on a web server. This action will make the portal unavailable for several minutes and users won’t be able to access it. You might need to restart your portal to force some changes to take effect or to do a full cash flush. -
Install Project Service Automation Extension:
Installing the PSA solution on portal will give customers and partners the ability to view projects and bookable resources, in addition for customes to be abe able to approve quotes and view invoices, contract and order forms. In order to be able to install this solution on portal, Project Service Automation for Dynamics 365 and Partner Portal solutions must be installed first. -
Install Field Service Automation:
Installing the FS solution on portal will give customers and partners the ability to view different parts of the Field Service on the portal like assets, work orders, invoices, and agreements... In order to be able to install this solution on portal, Field Service and Partner Portal solutions must be installed first. -
Get Public Key:
It will be used to retrieve the key from the portal that will be used to configure the Live Assist for Dynamics 365 CE Apps to work with the authenticated users on the portal. -
Get latest metadata translations:
When you provision a portal, many solutions are installed on the organization. One of them is related to the metadata translations like field name, form name, and view name. These translations are installed for the languages already activated. However, for newly activated language, the metadata will not be automatically installed. Therefore, you have to manually import the metadata translation using this feature in the Portal Admin center. -
Disable custom errors:
It will mainly be used for developers to troubleshoot a server-side issue that is occurring on the portal where you can disable custom errors in order to display a detailed asp.net error page that will help you to have the full error trace -
Enable diagnostic logging:
It will be used to have log files for the portal and saved in Azure blob storage account where you need to provide the connection to the Blob storage service and the retention period of the error log -
Reset Portal:
It will be used if something wrong is raised during portal provisioning or if you want to move you organization to another tenant or datacenter. Doing this, will delete the Portal App you have created, so you can provision the portal again. Other than the Portal App, the Portal App registered in Azure App Registration will be also removed. However, portal data and solutions will remain intact and you should delete them manually if needed. -
Change base URL:
It will be used in case you want to change the URL of your portal where the old URL will not be available anymore. -
Enable maintenance mode:
It will be used when your portal website is under maintenance or it is temporary down, where you can use the default maintenance page or choose a custom page to be displayed when the user access the portal
-
Restart:
-
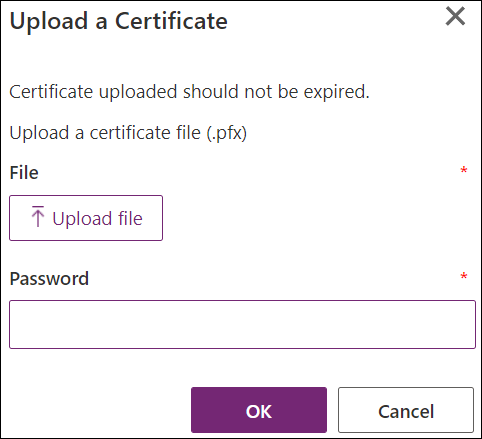
Manage custom certificates
Custom certificates are recommended to be uploaded and used in the portal to bring additional level of security when using the Client-side API call with OAUTH 2.0 where you can upload up to two certificates.
-
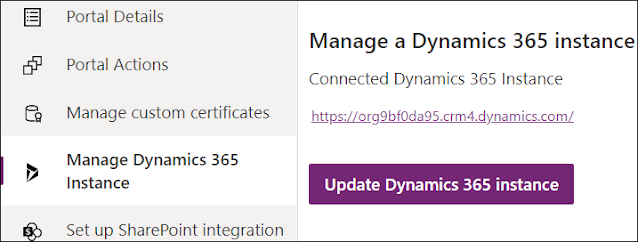
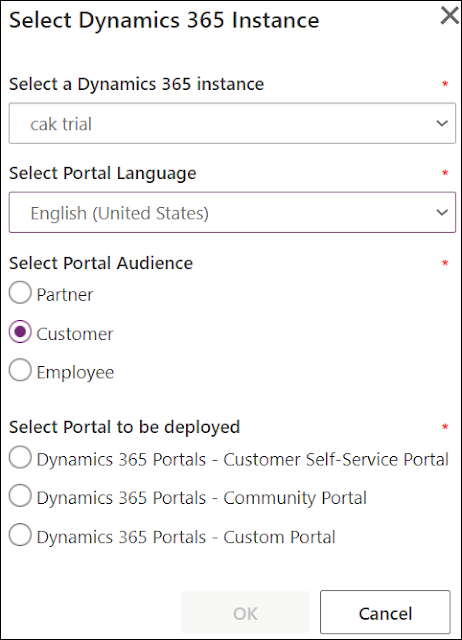
Manage Dynamics 365 Instance where you can
- Select the Dynamics 365 instance to install the portal against it
- Select the portal Language and change it if needed
- Select the Portal Audience and select between Partner, Customer, or Employee
- Select the Portal type to be deployed and you can select between Customer Self-Service, Community, or Custom
-
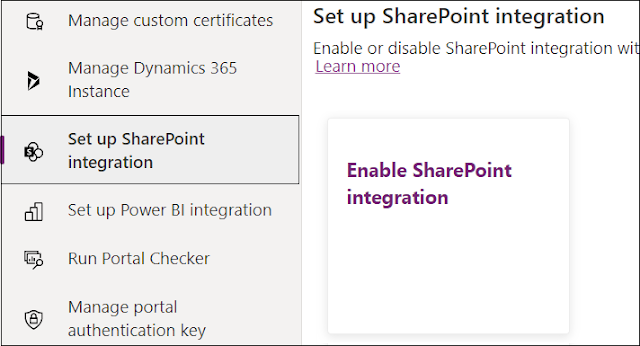
Set up SharePoint integration
- Enables the document management capabilities of SharePoint from within Dataverse
- Supports uploading and displaying documents to and from SharePoint directly on a basic form or advanced form in a portal
- Allows portal users to view, download, add, and delete documents from a portal
- Allows portal users to create subfolders to organize their documents
-
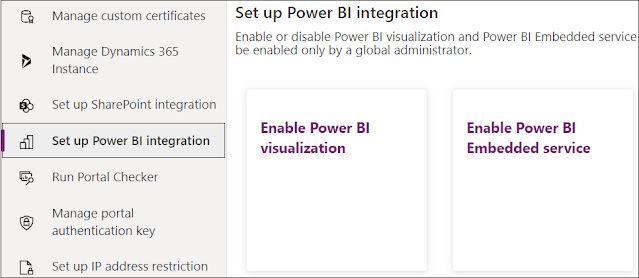
Set up Power BI integration
- Allows you to disable/enable Power BI visualization and Power BI embedded service
- Allows you to select the needed workspaces from which you want dashboards and reports to be displayed in your portal
- You can add the powerbi Liquid tag in the webpage to display dashboards and reports from Power BI
- Will provide insights with simple and interactive visualization
- Allow the users to view Power BI dashboards and reports in portal web pages
- After enabling the Power BI Embedded service integration, an Azure AD security group having members added to it, must be added to the security group of Power BI through Power BI admin portal in order to allow dashboards and reports to be displayed in the portal.
-
Run Portal Checker
- It is a tool that can be used by portal administrators to do a diagnostic and identify common issues in portal
- This tool will look at different configurations and provides recommendations on how to fix them
- Based on the result of the diagnostic, it will provide you the ability to click an issue or warning to see its details and what are the instructions to fix it
-
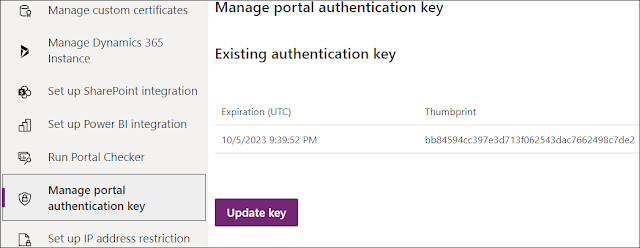
Manage portal authentication key
- Upon Portal provisioning, an authentication key is automatically created and uploaded to the Azure Active Directory application
- This key is needed by the portal in order to be able to connect to Dataverse environment and it is expired every two years
- You must renew the portal key in order to keep the portal connected to the Dataverse environment
-
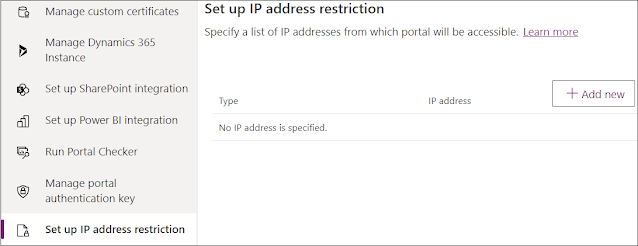
Set up IP address restriction
- Once the portal is up and running, it will become public and accessible from the internet and anyone will be able to access it
- You can restrict this access by defining a list of IPV4/IPV6 addresses that are allowed to access the portal. Doing this, will allow the portal to be accessible only from the list of IP addresses added in the list, while, every other IP will be blocked by a 403 error page.
- By default, no IP addresses are added and the portal is accessible from all IP addresses
You can check this page
for more portal-related articles like :
Hope This Helps!





Comments
Post a Comment