DYNAMICS 365 ADVANCED FILTER
Previously, we saw the
Column options
feature that came with the 2021 Microsoft Wave 2 Release that allows the users to add columns to the views on the fly.
In this post, we will see an older feature that came with the 2020 Microsoft Wave 1 Release which is the Advanced Filter.
As you know, one of the most used functionality in Dynamics 365 is the Advanced Find that gives users the ability to build and
execute complex queries and apply actions on the retrieved records.
In addition, the filter that existed on the views, was limited to the columns displayed on the view and sometimes not all the columns can be filtered.
However, with the introduction of the Advanced Filter feature, the end-users are able to build complex filtering in the entity views
whether for system or custom entities similarly to the Advanced Find. But, they will stay in the same page and build these queries
without opening a new page as for the Advanced Find.
So, Let's see how this feature works in the below steps
- Go to your Dynamics 365 environment and open a view (I will work in the Active Account view)
-
Click the Open advanced filtering panel button on top of the view
-
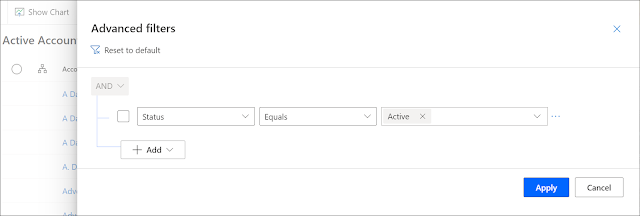
The Advanced filters pane will open in the right side with the default filter of the view
- Here, you can start changing the default filter and building more complex filtering criteria
-
Change the default filter of the view by clicking on the appropriate filter Row, and the list of all fields will be displayed to choose
-
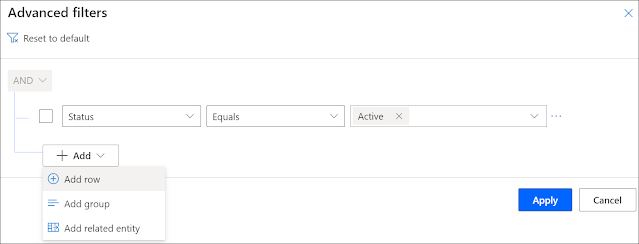
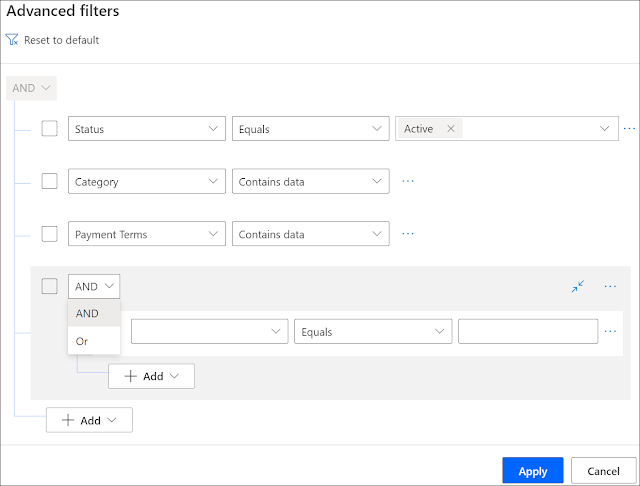
Click + Add button, to add a new condition to the filter, conditions in a group, or conditions based on related entities
-
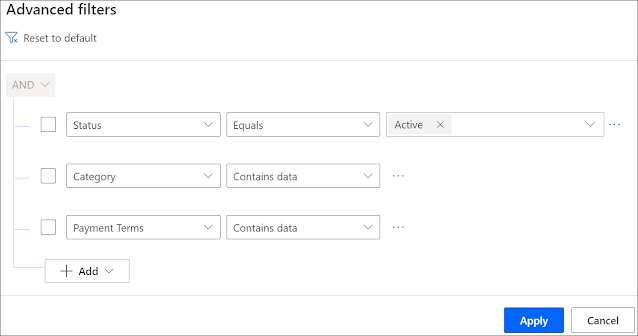
Add conditions by selecting Add row
-
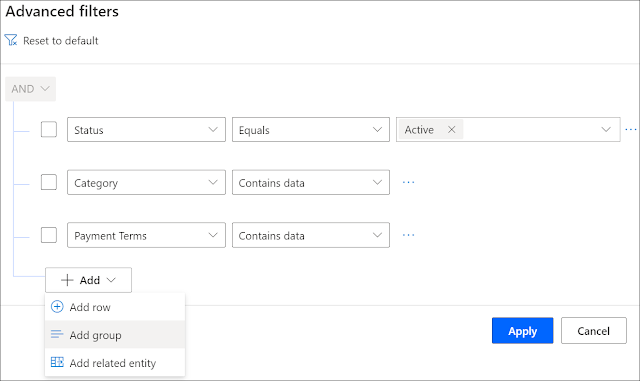
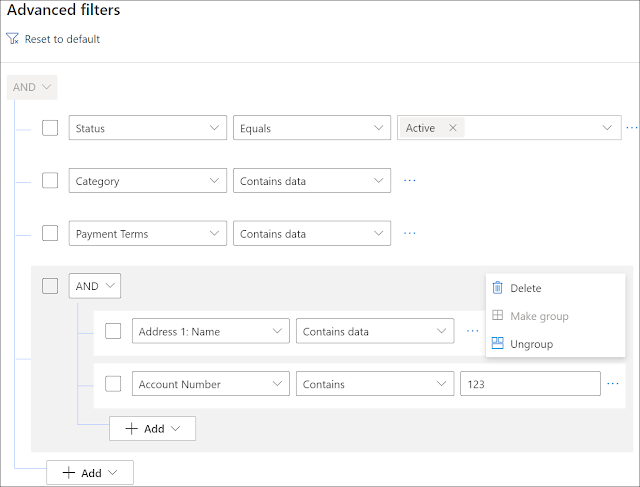
Add conditions in a group by selecting Add group
-
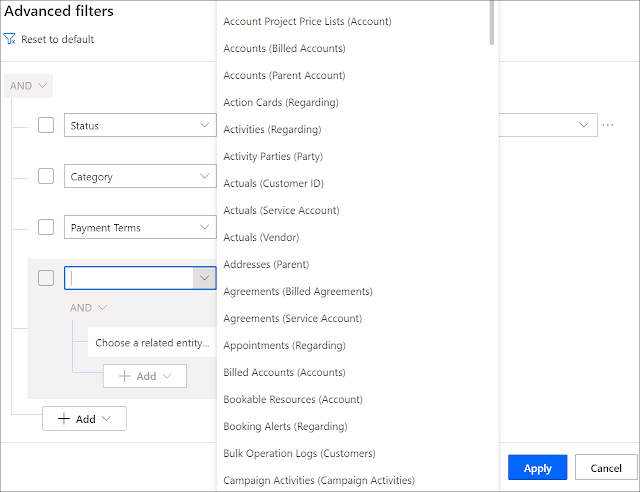
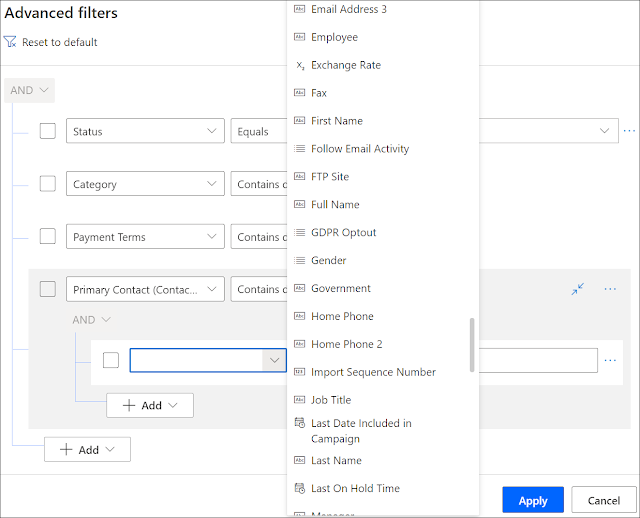
Add conditions based on related entities by selecting Add related entity
-
Add conditions by selecting Add row
-
Once done, click Apply, and the filter will be directly reflected on the view
-
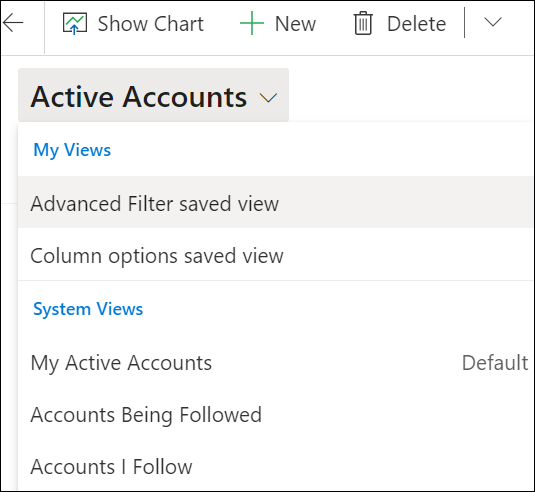
You can save the filter applied, and it will be saved as a personal view under My Views for later use
Bonus Tips:
-
When a filter is applied, an asterisk will be shown beside its name to indicate that the view has been edited
- The filter you have applied on the view is temporary and will be lost if you navigate to another view without saving it
Hope This Helps!







Comments
Post a Comment