HOW TO CREATE AND SETUP NEW DYNAMICS 365 TRIAL ENVIRONMENT
Creating and setting up a new Dynamics 365 trial environment is an easy task with a straight forward steps.
However, it has been changed with PowerApps and a new way exists to create the environment.
In this post, I will walk through the steps and show you the new method on how to create and setup a new Dynamics 365 Trial Environment.
In the following steps, you will notice that some of them are still the same, while others have been changed.
- Access the trial URL using the following link https://trials.dynamics.com
- Click Try for free in the Dynamics 365 Sales App you want to have in your environment
- In the popup, enter any text in the box and click Start your free trial
-
An error message will appear telling you to enter a valid work account. Otherwise, Click here to set up a new trial account instead.
- Click on the link Click here to start the creation procedure
- A new page opens. In Step 1, you have to enter a valid email address and click Next
-
Click Create a new account instead link
- In Step 2, enter your personal information and click Next
- You have to verify your phone number (by text or by call)
- Enter the Verification Code provided to your phone and click Verify
- In Step 3, enter the domain name you wish to create and that will be used to access your trial environment
- Make sure the domain name you entered is available for use, and click Next
- Enter the User Id and Password to sign in to your account, and click Sign up
-
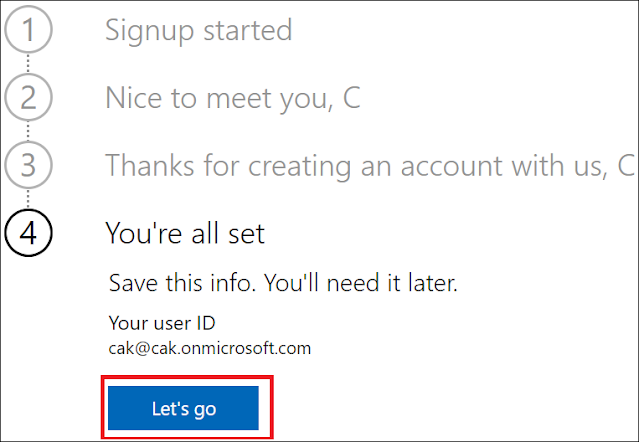
In the last Step of the wizard, click Let's go
- Wait until everything is set up and your environment is created
- Once done, you will be redirected to the Environments in the Power Platform Admin Center
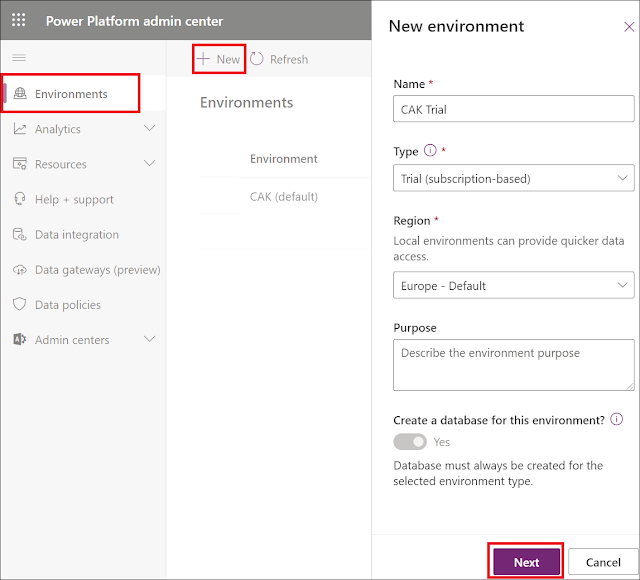
- In order to have a Dynamics 365 Trial environment, Click New to create a new environment
-
Enter the environment information and click Next:
- Name: whatever you want
- Type: Trial (subscription-based)
- Region: Select the region you want
-
In the next page, enter the needed information and click Next:
- Language: CRM base Language you want to work with
- URL: URL of the CRM environment
- Currency: Base Currency of the CRM environment
- Enable Dynamics 365 Apps: Select Yes
- Automatically Deploy these Apps: Select All enterprise Applications
- When you click Next, the new environment will be prepared and you can check its status
-
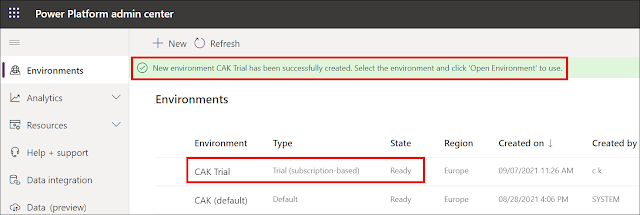
Once the environment is ready for use, you will be notified and its status will be Ready
- You are now ready to use it. In the new Environment created, click the (...) > Open environment option
- The published Apps page is open, Click the Sales Hub App
-
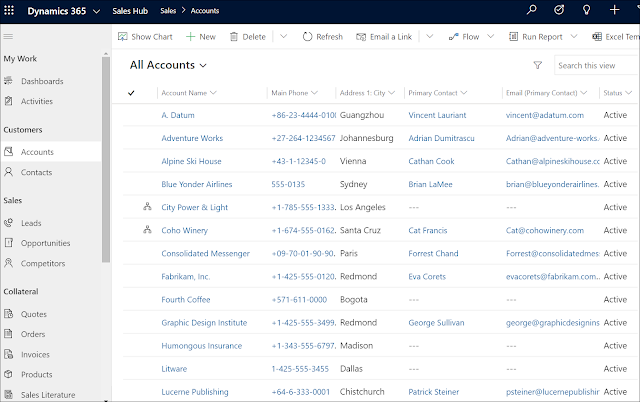
The Dynamics 365 environment will be opened based on the App you click, and you will be to navigate and work as usually
Hope This Helps!


Comments
Post a Comment